 |
April 19, 2019
In my enthusiasm to get the word out about my classes, and presuming some other important steps had already been taken, I jumped the gun on the announcement of my classes. They are still going to take place, but this semester, I was one of the first to schedule. This meant that the other teachers and other classes had not been fully scheduled, which means they really weren't on the books or in the computer. If a product/class isn't in the computer there's no
way to purchase it!
This is a point-of-sale program and for a retailer it makes life so much easier. Things like inventory at the click of a button instead of 3 all-nighters manually counting everything in the store; knowing what your inventory is at a moment's glance so if you need to re-order you can; knowing what's selling and what's not; and any information for tax purposes is available by simply clicking a button or two. In my more adventurous days partial ownership in a
scuba store, Walt and I installed a POS system, and it was wonderful. So I love these.
However, when using a POS system, simply because an item is on the floor does not mean it can be purchased. If the item isn't in the POS system, then selling it can cause all sorts of problems, like bad inventory numbers, bad tax report for the accountant and a real problem, the sales figures don't balance. And as easy as the POS system is, it can be a pain in the neck when someone on the retail floor has sold something that's not in the POS system.
And my classes hadn't been entered yet. They will be the first of the month (May 1st), but until then the calender is still being finialized with other teachers scheduling their classes.
But I did get some more inside info - and the ponte for the Ponte Pants class is in more colors than I had originally been told.

This is an approximation of the colors but they are black, heather grey (a light version which is great for summer), a true navy (which means it's very, very dark), sapphire blue, olive green (a dark olive) and a tomato warm red (with no blue). These will be available the first of May.
In other business, the site is down temporarily, as they are uploading everything over again and once it is, I can start blogging again. Right now I'm in the middle of three exciting projects: a MOG (mother of groom) for a very formal event, a bride (a cousin who is part of that side of the family who's grandmother gave me my first Bernina - so this is very special to me) and the Chanel jacket I'm wearing for Easter (maybe - like a far, distance maybe, but definitely for
the cousin's wedding!
The MOG dress will be in chiffon, and one of the most artistic and effective looks for chiffon is layering. As chiffon is someone transparent, it's very exciting to put a hot color under the chiffon which ads almost another dimension in the chiffon. Additionally when the chiffon is iridescent (the warp weave is a different color than the woof weave) this ads additional interest to the fabric, and that's even before we start the dress
design.
A "hot" fabric is one that pops out dramatically. Usually, this is something like a very shiny satin in a very bold color. So a shiny charmeuse hot pink, dazzling bright blue, even day-glow colors are beautiful when done this way. The chiffon tones down the colors a lot, so that when you see the color you see the satin, but you also see the main color of the chiffon, usually the warp weave, and in the shadows or nap of the fabric you see the woof weave
color. Chiffon moves, so as the client moves in the gown, the colors change all night long....sometimes it looks like the colors of the satin, sometimes the colors of the chiffon, sometimes the colors of the chiffon woof weave. It really gets exciting and interesting.
The Cousin Bride
The lovely bride brought me a dress that she had purchased a while ago. And guess what - I know you would never suspect this - styles change and yes we had to change the dress style. That's OK, because the construction was abominable. There was the fashion fabric (the outside fabric), which was "backed" with a very flimsy bonded fabric, the lining had the same bondable fabric, on a very thin lining. So you could literally see-thru the
bodice. Additionally the bodice printed. That means that it silhouetted her nipples. This was not a good look for a bride. The dress did have some cups in the bust, however they were so large, that the bride wanted me to take them out cause they made her look abnormally big.
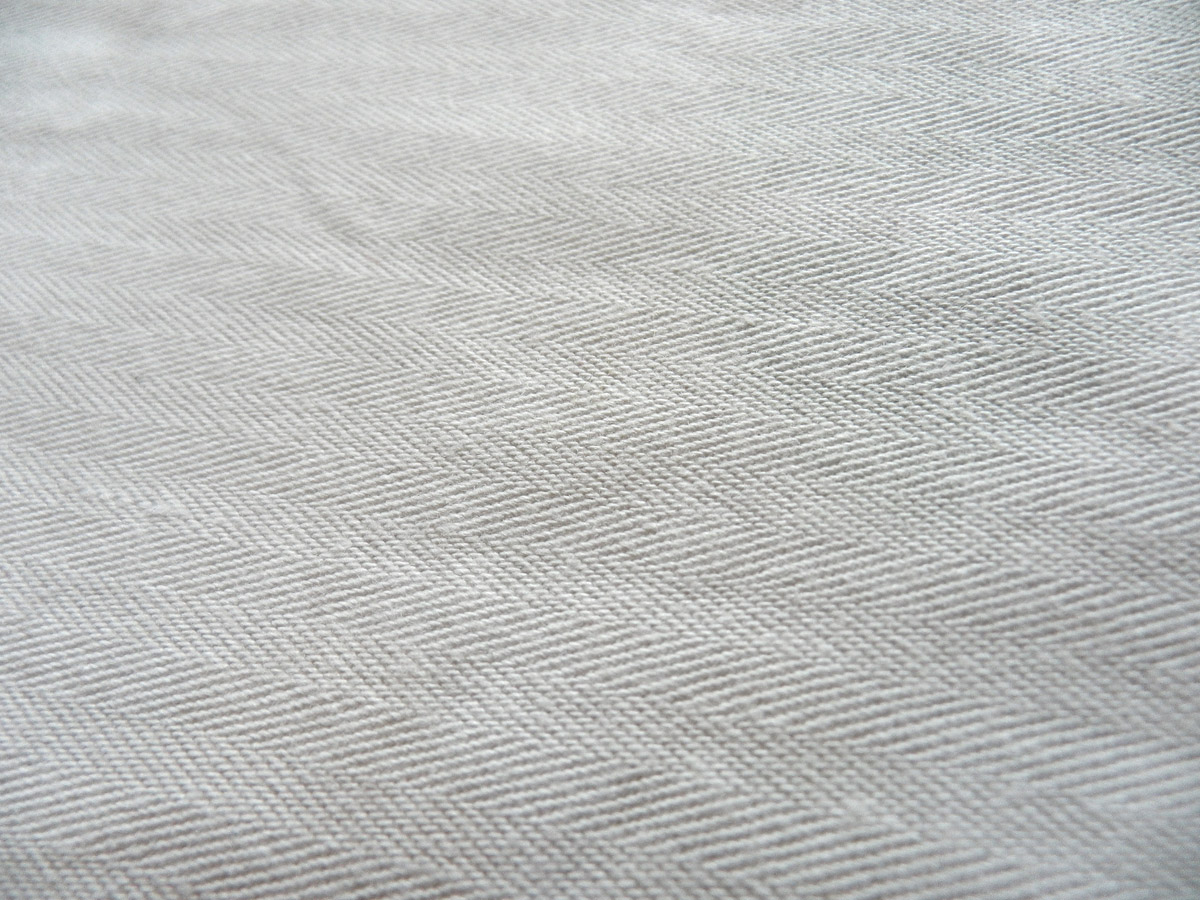
To solve the problem of the printing and see-thru, I took the entire bodice off, traced off the pieces and backed the fashion fabric with a coutil. A coutil is a corset-making fabric and can come in various jacquard designs, but I like the herringbone design the best. It's a stiff, heavy fabric that is soft. I know a fabric that is stiff and soft doesn't sound like it goes together well or could possibly be in the same fabric, but it is. It not only makes
the entire bodice opaque, but it can also be totally tailored and shaped to the soft proportions of a bride's shape. It's superb for strapless or simply a stiffly constructed gown. The minute I put the dress on the bride after adding the coutil, she was thrilled.
The very next thing I like to do is add an interior waistband, especially on strapless dresses. When I do this, I like to have them put on the dress then I hook the waist band - tightly - and without zipping it up, they marvel at how good the gown feels and can instantly feel how well the gown is supported and don't have to worry about the bodice supporting the large, heavy skirt. There's a big huge smile on their face!
The Higher Waist
Then there's the placement of the waistline. Every girl likes to look thinner than thin for her wedding. They are all a little drink of water to begin with, so I'm not sure they really need to be thinner, and brides are always unbelievably beautiful, but alas it is what it is! That said, it's my job to fit them and make them look thinner than thin. One really great way to do that is to raise the waist. Yes, I'm back on the
raise-the-waist kick again.
Here it is in blazing color!!!
 
Yeah - I know she's pretty scary, but she makes a great point. We have all (well those of you who purchase your clothes have) worn your clothes at the hip. This is the famous Hipster line that Alexander McQueen showed in 1992. Yep, it's been that long. It was fresh and new back then, but almost all our jeans, pants and even skirts are at that location.
That is changing. There's more of the waist, but not really the waist, showing. It's really above the waist (the green line - the blue line is your true waist). And what happens now is that this waist look is that newer, fresher look.
But this hipster look has been with us for so long that people actually believe that that line across their belly button IS their waist. It's not. It's at your hips. If you don't believe me, next time you put on a pair of pants and put your hand at the top of the pants on the side, you can feel your hip bone there. That is NOT YOUR WAIST. The hip bone is below your waist.
Your waist is located between the lower rib and the upper hip. There's a natural indentation there because there's no bones there. But why raise the waist?
OK let's put some clothes on this poor gal.
 
So now we have two looks - the one on the left has a distinct muffin top look while the one on the right looks like she's lost 5 lbs. Remember both of these are over the same body, and are skimming the body the same way a dress would skim your body.
The tromp l'oeil (which is french for trick of the eye referring to artwork that looks real but isn't), is that if the waistline is raised every so slightly, then it makes the line from the waist to the hip much smoother. Raising the waist means that the line from the waist to the hip is longer and therefore smoother looking. The model hasn't lost any weight, she's simply reconfigured her waist so that the line from the waist to the hip is smoother and much
more flattering.
Back to the Bride
So this is what I'm doing to my cousin's gown is raise the waist slightly - she won't even know this, but she will notice how much more modern, fresher and more flattering than the on-the-waist look was giving her.
Additionally we're making a netting to cover the shoulders and arms. This is for the church so that she can have a more modest look for her gown during the service. But she can still have a gown that is really elegant and evening-ish which is what most girls want!
The Chanel Jacket
So I've had some really nice bouclé for a while with a great silk charmeuse lining, buttons and trim thingies and have been wanting to do something special with it. It's a very light celery green with multi-colored yarns running through it, but it's a summer or spring time look - not good for the dark of winter. The trouble is that it needed something and wasn't sure what that was till I saw this on my Instagram.
  
These were all on Alice's @mendelgoldbergfabricnyc Instagram account! Following fabric and fabric store content on Instagram can be so inspiring. The minute I saw this, I knew what I could do with that celery green bouclé. I needed some lace flowers, but had purchased a yard of this positively happiest of flowers on netting that I had seen in a long time and thus the idea was born.


There are always problems to work out when doing something like this. I'm not sure where I got this fabric. I knew I liked it. Although it looks rather tan-ish in these pictures, believe me it's a solid celedon coloring, the pinks and cherry reds (which are normally not my color) go beautifully with the over all celedon, and with a little accent I can get away with the colors, even though they really aren't in my color palette. I'm not even sure where I
got the fabric, but I had a very generous yard and that was all. That meant I was going to have to weave some fabric.
Traditionally you must cut with large seam allowances, but I honestly didn't have the fabric for this, so I cut the front and back together. All the "darts" and regular "seams" will be in the jacket, except that they meet at the hip (my largest measurement) so I didn't waste extra fabric on those seam allowances. Today I got all the flowers I needed cut out to do the front. You can see that it's not symetrical but it's balanced.
This is harder to do cause the sides have to be balanced, and since the lace is not symetrical there's no way I can match each side.
Looking down the road.
The Chanel jacket is not so much hard as it is extremely time-consuming. There is so much hand work involved in the construction of the jacket that simply can not be done by machine. And even the machine work is time-consuming...quilting each piece then attaching them and the finishing is really time-consuming. But that's what is so remarkably lovely about the jacket.
I have good placement for the front, and need to finish the placement around the neck in back and around the sleeves. Since I couldn't cut a full sleeve, these sleeves will be 3/4 length. Something Karl did a lot in past collections.

And I won't do a stand-up collar, simply a jewel neck again to save on the layout of the garment on the fabric.
But thinking down the road, I really don't want the quilting lines from quilting the lining to the jacket to be over the flowers, which means I have to quilt the jacket first, finish the jacket, then sew on the flowers. Even though that stitching will show on the inside, on the outside the flowers will look much prettier.
And because I have flowers or other ornamentation on the jacket doesn't mean that I do away with the trim and the buttons. There are many RTW Chanel jackets with loops and the jacket meets on center front with loops for the buttons, not buttonholes. The trim will be a little more finished an not quite so dominant as what I usually do because the flowers will be the dominant feature in the jacket.
Lots to do this month. This jacket most likely won't make Easter, but it will make the cousin's wedding in June and I'll have more updates on this. I'll post about the jacket on Instagram @sewingartistry.
There is nothing that beats great style – NOTHING! This is most often classic, and yet you can see great style in some pretty dramatic looks, but it’s still classic. There are a couple of young examples of this great style that I like to go to for […]
Read more →
Sometimes I get a great opportunity to show off my ingenuity and I really love it. This requires a lot from a client because while I’m working on accomplishing all the puzzles involved in executing a specific design, my client can be totally
taken aback by all […]
Read more →
This is an exceptionally sad day in fashion for many reasons. Karl Lagerfeld was a huge force in the fashion industry not only because of his fashion but because of his incredible energy level. He headed many aspects of the fashion business and of course his most famous […]

PS - I do a lot of posting on Facebook as both Claire Kennedy and SewingArtistry - if you want to friend me to check out the goodies over there for free!
To view this email in browser or to see past emails click here.
|
|
Follow Us!
     
|
|


