 |
March 16, 2021
When we're sewing, it's just as important to consider silhouette shaping as it is your fitting and sewing techniques. Of course you can't completely disregard your fitting and sewing techniques, but at the same time, you neglect your shaping and silhouette considerations at your peril.
Here's what I mean.
 Look closely at this Versace dress. Take your eye from dress to dress back and forth - look at the waist area, and tell me which one looks thinner. Look closely at this Versace dress. Take your eye from dress to dress back and forth - look at the waist area, and tell me which one looks thinner.
If you do that, you'll see the one on the left has smaller hips. But what else is different? The hip apex point is fitted (meaning it should have about 1" - 2" ease) but the line is straight down from there and this de-accentuates the hips as being large. I promise, when I did this, I did not change the hip size, but this simply change of the silhouette line under the hip apex point. This is the only thing I did. It's hard to
imagine this would make this much difference, but seeing is believing!
First Rule of shaping:
Do not fit under an apex area unless you want to accent that apex area. Apex areas such as busts, hips, tummies, and fannies qualify here. Now if you have no bust and you want to accentuate it, fit very closely under the bust.
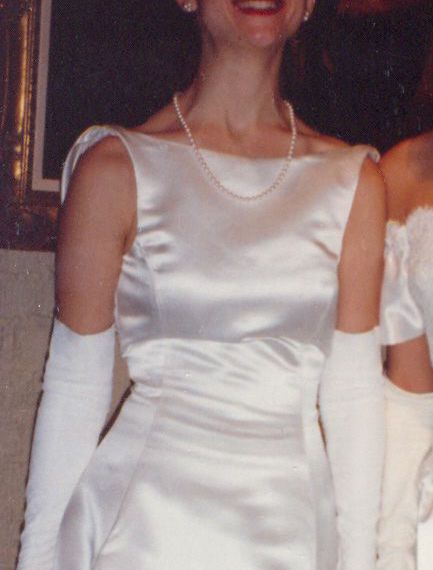 This cute deb has a size A 30 bra with a very nice chest (non bust) size of about 29½" so her bust measurement was about½" - I exaggerated, but you see what I mean. She really wanted to look busty, so with the help of some foam filler, and fitting very closely under the bust, she felt positively voluptuous! This cute deb has a size A 30 bra with a very nice chest (non bust) size of about 29½" so her bust measurement was about½" - I exaggerated, but you see what I mean. She really wanted to look busty, so with the help of some foam filler, and fitting very closely under the bust, she felt positively voluptuous!
This is using that first rule of shaping to a tee, my deb here looks positively endowed with fitting close under the bust!
This works for below the waist too.
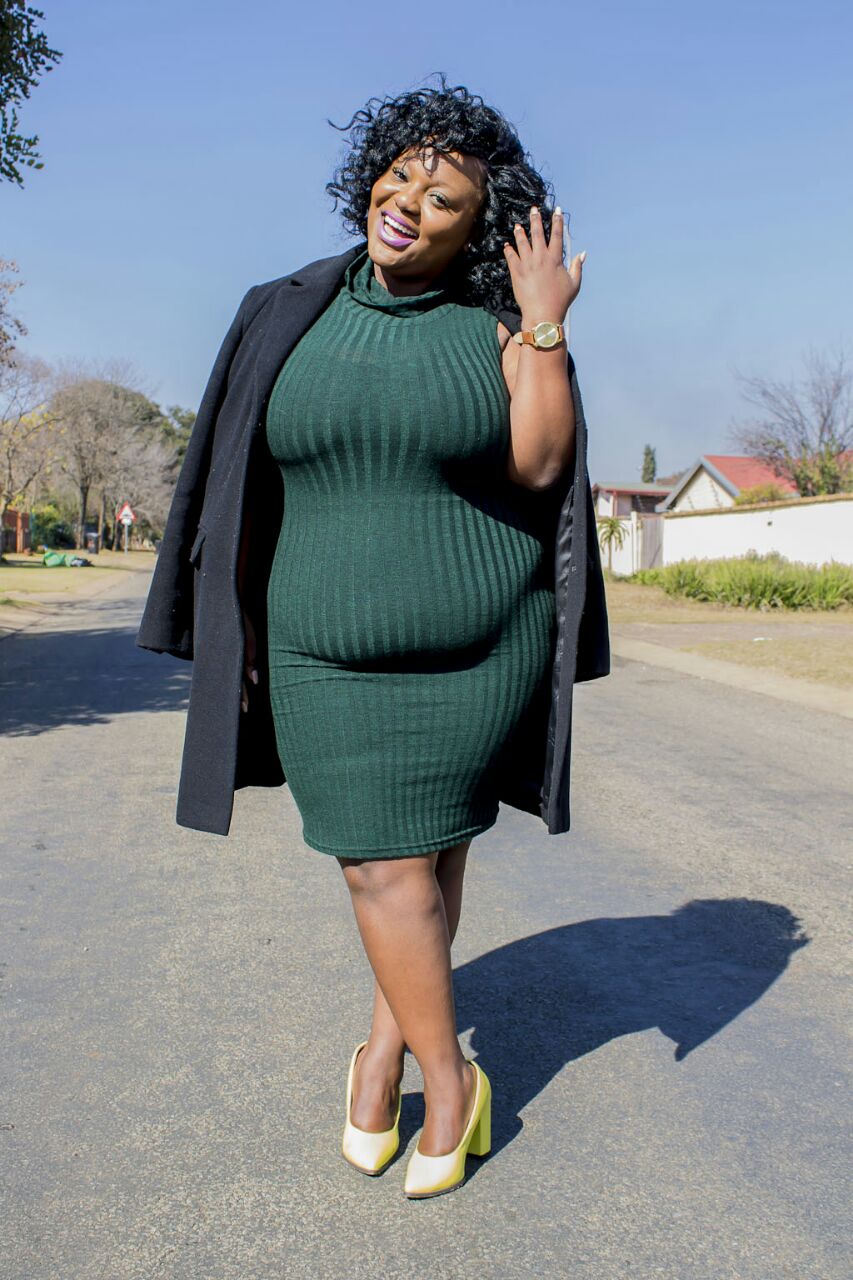 
What is the different between these two outfits. Yes, they are two different garments, but there's a big different that makes the one on the right, right or correct or better. Notice how the shape below her stomach fits to the apex or the point that stands out the most, and then drops straight below that. The garment on the left tucks in and fits very closely below the stomach and that only accentuates this gals figure parts that she probably doesn't want
accentuated!
Obviously this is pretty exaggerated, but this not only works for stomachs, but for hips and fannies too. Do not fit close under the apex and you will look so much thinner!!!!
Working above an apex point.

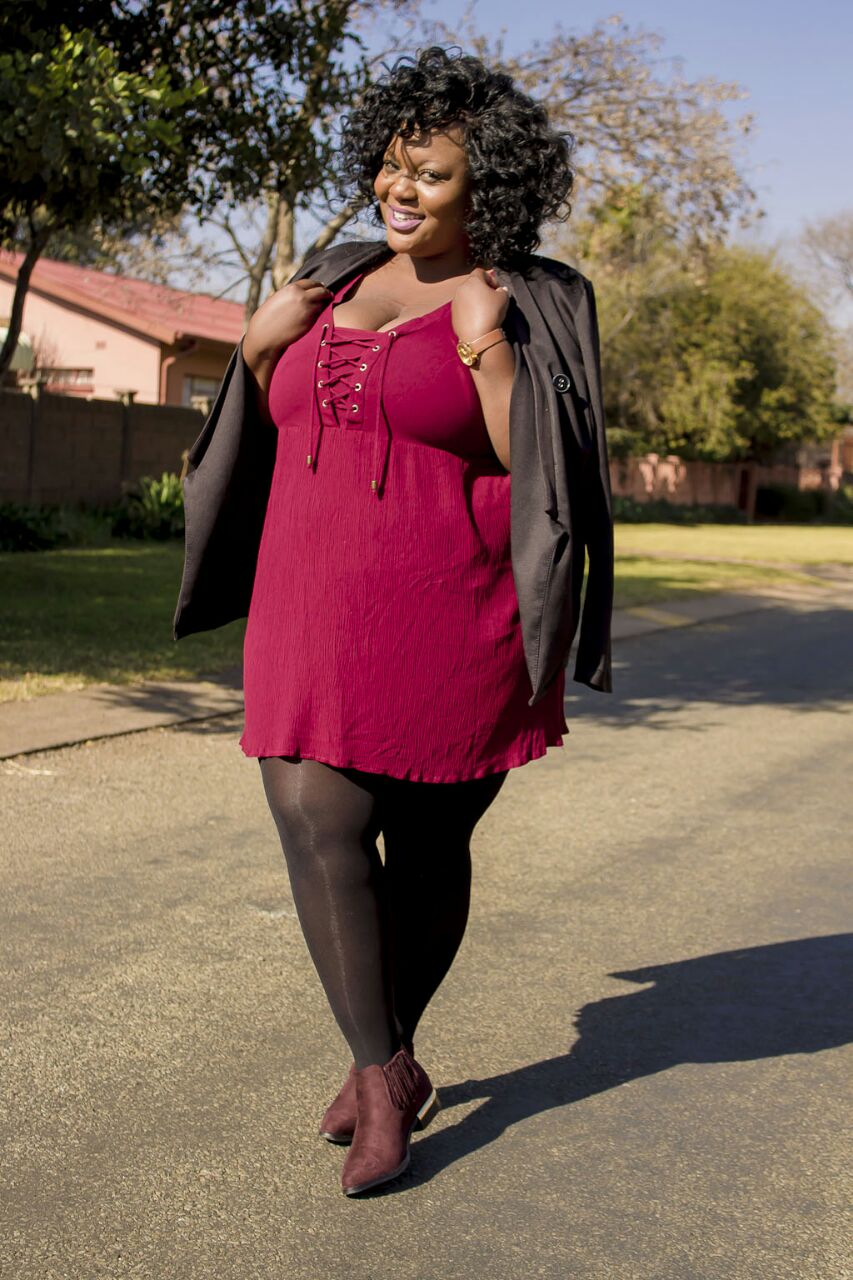
Which one of the photos of Dolly looks like she doesn't have as large a breast? And which one looks like she is more comfortable and looks more professional? The one on the left is the original and the one I modified is on the right. What I did was coming a little below the bust, and then gently release the fitting so that it hits a little away from her body and rests relaxed on her hips and then gently flares out.
Now this does several things.
1. Not fitting closely under the bust, modifies her bust. This makes
2. But notice how Dolly has some undeniable muffin-top in her waist profile. This is unavoidable because that fullness right below the waist is bone - not fat, so there's no removing it, unless Dolly wants to have a hip-bone-ectomy, and then she couldn't walk and that wouldn't be good.
What I did here was to make the line from under the bust as her "waist mark" which is higher than her actual waist line. That means that not only did I modify her bust and make it look prettier, but I also modified her waist point and made the muffin-top disappear. So with this one alteration (redefining her side silhouette) I've solved two big issues, her prominent bust and her muffin-top right below her waist.
Second Rule of Shaping:
This is especially true for you hourglass shapes and some pear shapes who really flare out below the waist. Raising your waistline to 1" or so above your natural waist, and then gently flaring out and down to the hip line removes any hint of a muffin top no matter what shape you are. This means
Bra support
I've mentioned this before but there is nothing that will make you look younger, thinner and smarter than having your bust in the right place. When it's lingering around your waist, that is not the right place. Additionally that means changing your bust point and that also means that your bust darts need to be changed, but that's sooooooooooo easy.
1.) Simply take out part of the side seam that has the dart sewed into it. 2.) Take out the stitching on the dart. 3.) Record where the dart point should be. 4.) Press flat, and refold the new dart pointing to the new dart point. 5.) Sew up side seam. 6.) Press well - sometimes may require a little spray water on that former dart fold to get it completely flat.
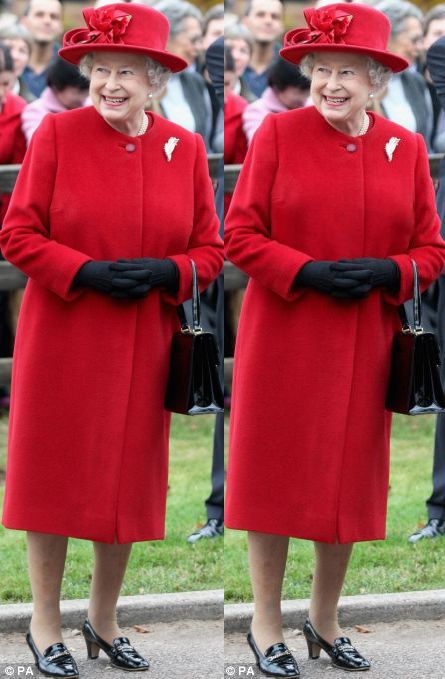
Now the Queen is 95 y/o, so I'm wiling to give her a lot of slack. That said, there is one modification that she can make in her silhouette that would make a dramatic difference in her shape. She can at the least move her bra straps a little tighter, and that's all it takes to raise the bust point to a much more attractive level. If the bra can not hold that support (IOW, it starts creeping up into the bust itself) it's time for a new
bra.
This is such a simple task and makes such a huge difference.

It's hard to understand why it's hard to resist. My thinking is that it simply slips a person's mind, unless they are taught to notice it.
YSL's Seven points of the female body
Finally on shaping and forming a silhouette that is most attractive and enhancing for every body shape, I love the rules that Yves St. Laurent set out about 40 years ago at the zenith of his career.
He said, there are seven parts of a woman's body that can be accentuated. However if you accent too many you look like a tart (I'm sure he used some delicately wonderful French name for tart)! And if you accent too few you look like a bag lady - in the words of Karl Lagerfeld, "You look like you've given up!"
First, let me tell you - don't ever give up. A project that was supposed to happen last November is about to happen again, and I'm going to record a lot of it, cause it's a lovely public servant type client who wants me to make her look elegant and lovely for a very public event. She does not have a svelte or anything close to a model figure - that's what makes her so deliciously wonderful to me. I'm going to show you how not to give up with her as a
model!
Those seven parts are:
1. shoulders and I include décolletage here.
2. bust
3. waist
4. hips
5. legs
6. back
7. silhouette
Now taking about 2 or 3 or 4 at most and showing them off can be enough to be very attractive but not overly excessively revealing. Less and you look frumpy, more and you look raunchy.
Using these basic guidelines, moderating and allowing the silhouette to gently flow from one apex point to another makes for a much more pleasing line and can drop pounds off your body.
That's something I'll take any day!
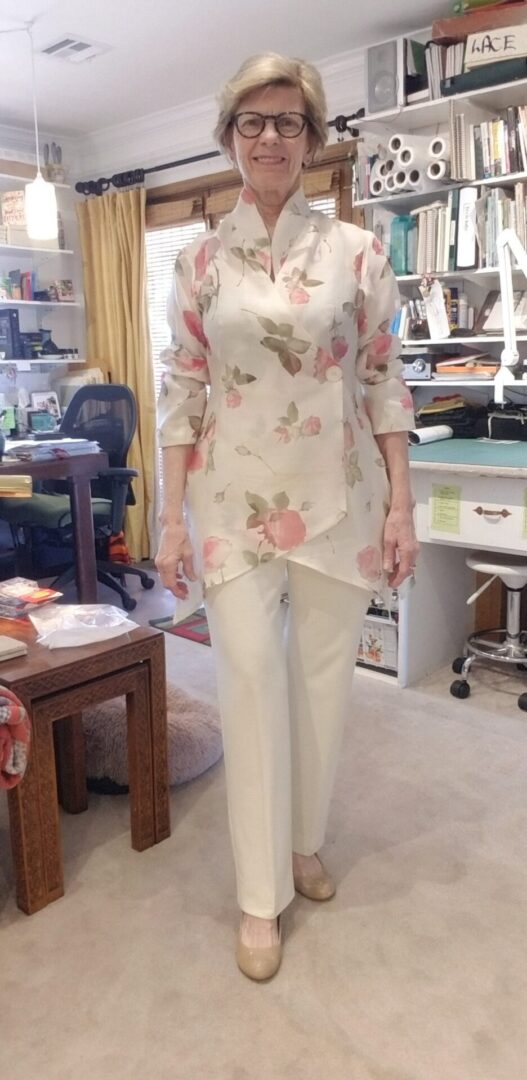
 Welcome to the world of a great fitting, flattering and comfortable pant. Yes, it's possible and no it doesn't take a Ph.D. from FIT!!!! Once you have this pattern perfected, making pants up is a cinch. It takes an afternoon for a newbie, but for a pro, a couple of hours -- once you have that pattern perfected.
This is the pant that I wear that gets the most compliments and even pros in the business remark at how well it fits because the hang and drape is so good. What they don't know that I do, is that this pant has the "Aaaaahhhh" factor. When I sit down I'm never worried about whether the pant will split or I'm going to have my eyeballs pop out cause the pants are so tight!
And that's what this resource does. Included in the resource are:
- Instructions on the kind of fabric to use and why
- Instruction on the pattern to use and why
- Instruction on fit, hang, the drape of the pant
- Instruction on hems and hem styles
- and when to use what style where
- Instruction on finishing techniques
- Instruction on variations of this ponte pant
- Instruction on styling for different figure types
- Instructions for care
This is full of inspiration, and instruction and is one of my most popular classes at Bernina when I teach in person - hopefully we will do that again!!!
In the meantime here's a fun class at the usually special discount for new resource introduction.
On the Blog
 |
|
Feb 6, 2021
So Walt fell - twice - on the ice the first of the year. It was while walking he was ...
|
 |
|
Jan 18, 2021
with, in the store.....yeah, you know how that goes. Well, ...
|
 |
|
Dec 23, 2020
Years ago, when I was a feisty young thing, I didn't have enough sense to pick out a vocation that ...
|
PS - I do a lot of posting on Facebook as SewingArtistry - like my page to see more goodies!
To view this email in browser or to see past emails click here. (This still works, and will work)
We respect your email privacy
|
|
|
|
