|
April 8, 2022
Traveling along with our sojourn of fitting a core pattern.
One thing that's important to note here is that we are taking a lot of extra steps to make sure this garment is correct. That seems like it's taking a long time, and it is.
But here's the thing. This core pattern is going to store all this information for you. This is the benefit of a core pattern. Once you have all this information stored for you, then you don't have to do all this fitting any more.
The alterations and variations you make to your core pattern when you make it up are not fitting or sizing alterations. These are only style and fashion type alterations.
So let's go through what all we're doing here, cause it's a lot of fun.

So I asked my student to add a little in back, because we were going to take out a little in front. This is part of repositioning the armscye so that it will hang correctly on her.
This is one of those really alterations that will be stored forever in her garment so that she will never have to do this again.
If she purchased a new pattern every time she wanted to sew a garment, then she would have to make this alteration again and again and again. With the core pattern, she makes it once and that's it!
So we cut this off along the pencil line. If we need to add more, we can do it this same way - literally zigzaging a muslin piece on there to extend the fabric a little where we need it. This is the joy of the muslin, because we can add, subtract, add again, subtract again, and if it looks like a patched up blob - that's OK. It's the information of where that armscye is that's important not the look of the muslin. Besides we're going to take it
all apart when we're finished to make the real pattern!
 This is probably the most dramatic difference here. This is probably the most dramatic difference here.
When we took measurements around the bust, and measured the pattern we were lacking 4". We added 3 bust darts to get that extra 4". On her left side you can see how wrinkly it made the side seam. It almost looks like it wants to be taken in. In this case this is the wrong read here.
 There are a couple of clues here: There are a couple of clues here:
1. noting that there are 3 darts.
2. noting that there is more than ample space in the bustline girth
3. noting that there is a distinct hang/drape problem - bowing or splaying or otherwise tilting in the wrong direction.
All of these added up to taking out two of the three darts, and moving the third dart to point to the bust point.
https://sewingartistry.com/wp-content/uploads/2022/04/Right-Left-Sides1-scaled.jpg
 Pointing your darts to the correct bust point can be one of the most significant altering tasks you can make. This will cause you to drop 10 years instantly. Pointing your darts to the correct bust point can be one of the most significant altering tasks you can make. This will cause you to drop 10 years instantly.
Even I let my bra get completely worn out and then when I made this dress for a class, I looked like a dowdy old lady (OK I'm old, but I ain't dowdy).
A new bra did the trick and suddenly (on the left) I look like I'm 10 years younger! All it took was a good supporting garment.
https://sewingartistry.com/wp-content/uploads/2022/04/BustPoint1-scaled.jpg

https://sewingartistry.com/wp-content/uploads/2021/06/bustpoint4.jpg
It's not only me - here's a great look at a movie star that takes very good care of her body, but the bra on the left is all wrong. What happens when she has a bra like what's on the right? She looks way younger and even thinner.
So we taken out the two extra darts, we've smoothed up the bust, pointed the dart in the right place, and suddenly we have a very nice looking side (left side - her right side). Center front looks good. We have enough room in the bustline girth and the hang (on her right side) is excellent.
What I like to do at this point in the alterations is to fix what I've done on both sides and press this really well, then we're up for the next step.
As a preview of the next step, that's taking this top that is now tilted correctly and has a great drape, and give it some shape.
I asked this student for some questions that she had in making last week's alterations (moving the armhole more forward on the bodice and some other things that she finished this week). These questions are so great cause I'm not sure what you all don't know and of course you don't know what you don't know and you don't know what to ask! Yeah, I know it's confusing, but the more questions you all ask me the more I can give you the answers that you are
looking for instead of playing darts blindly, and that never ends well - usually someone gets poked and then you're in the ER trying to make excuses!!! So that means if you have questions, - ask away so we all don't end up in the ER!!!
Here are those questions:
1. If the shoulders are correct, the back width correct, but the front needs a bit more fabric to be able to button it without gaps at the bustline girth, what do you do?
-Just add more fabric down the front? and add more to the collar or shoulder?...but then the shoulder is too long to match the back shoulder seam?
-Add more fabric from shoulder underarm and down the side seam?
-Neither of those options.
ANSWER:
FBA - this is the drop-dead solution for this problem - not enough space in front and the shoulders hit correctly. The FBA adds exactly where you need it - across the chest and a little length in front.
EVEN BETTER:
Once you fit, flatter and finish your core pattern, then you don't have to do this again, because the location, style (deep or shallow, curved or concaved) are all contained in the pattern, so once you fit the core pattern - you're done!
2. When adding the depth of a yoke in back, do you have to shorten the rest of the back piece and if so where do you do that?
ANSWER: Yes. So basically what you're doing here is moving the yoke back seam line. You transfer that seam line to a lower position on the fabric, making sure that the curve of the yoke seam line in back is the same shape. The yoke bottom will normally be straight, while the back top will be slightly curved. It could be the other way around, but normally it's the back piece that is curved at the top. One of those pieces (yoke bottom or the
back top) has to be curved and the other straight!
3. How do you take up the front of a blouse or jacket where the placket is too wide?
ANSWER: I simply take it off that center front and mark center front on your pattern where it hits normally on your body. You can mark the top of your center front (at your neck) and the bottom (at the hem), then draw a straight line making sure that it closes comfortably at the bustline girth location.
4. What is the best way to shorten a shirt above the waist line? And how does that work on the armhole?
OK - so this involves me asking why? And here's why I ask that. There are two different ways to do this and it's so much simply to do this below the armhole(right at the underam). The ONLY reason you would want to lengthen at the
armhole
level is because you want to make the armhole longer, which made need to be done, however if you simply want to add
length to the back, do this below the armhole.
But in the interest of answering an interesting question here are the steps you lower at the armhole level:

Here is your back piece. The long straight edge is center back

The first, trace off the shoulder line, the armhole line and the side seam to the waist (and mark it as the waist). This gives you two anchor points: shoulder seam and waist at side seam.

Next draw a straight line (perpendicular to the center back line).
 Slit across that line and raise the top piece, making sure that the center back of the yoke, is on the same line as the center back of the bodice. Slit across that line and raise the top piece, making sure that the center back of the yoke, is on the same line as the center back of the bodice.

Now take that tissue that you traced off the armhole curve on, and match the shoulder seam at the top and the top of the armhole curve.

Take your Styling Design Ruler and trace off that curve to go from the underarm to the waist.
That's it.
Now let's do that a little simpler.
If all you want to do is add length, you can do it this way:

Draw a line either 1.) just under the under arm - if you want to lengthen the bodice to make the waistline lower or 2.) at the hip line - if you want to make the hem lower, but not the waistline.

Cut along the line and spread the two pieces apart, making sure that the center back is on the same line. This makes sure that they are offset or one is more forward or backward from the other.

Spread the two pieces apart and take your Styling Design Ruler and starting at under arm, make a curve to the waist.
This involves fewer steps and does the same thing as the method on above. I'm into doing things in the most time efficient manner with the same excellent results.
After removing those darts, rechecking hang, and bustline girth, we have a good side and a dark side. Here's the photo to show it.
This hangs beautifully on the left side, and icky on the right side. But we know how to fix the right side, and that will be done by next week, and we will move onto shaping this garment.
So the very first thing we are working on here is keying into the shoulders, and making sure that the hang is correct. We had to correct the armhole a little, now we've corrected the hang or the tilt of the garment, and next we're going to do a little shaping.
I know this seems long and boring, but remember you are doing this once - not on every pattern. You're going to trace the look, variations and style you want off your core pattern onto a new pattern. That way you will use your core pattern over and over with variation after variation.
And believe me no one will know it's the same pattern!
One final note here! We're looking at fitting and styling around the bust area in particular this is featuring an Apple/Rectangle figure. But the following goes for all figure types who have a large chest or bust area.
RTW says the only way you can fit that shape is by purchasing something that has a large girth, but also a large height. The truth is that when you grow out you hardly ever grow up too - most of us have already done that! This is incorrect grading that RTW persists in messing up.
To make my point here is a great photo of this:

I love using this photo of Octavia Spenser when she won awards for her portrayal in "The Help." In the movie, she portrayed a poor person who had to look starched and clean and well-kept. But the truth is that to fit her shape she had to fall into the same RTW challenge that many of us do today. Her shoulders are off her shoulder, there is a bulk of fabric under her arms, adding to her weight already there, and it generally looks sloppy and anything but
well-kept.
The go to the Oscars (actually I think the one on the left is from the Golden Globes. There's a lot in this navy blue suit on Ms. Spenser and let's start at the top:
1. It's ON the shoulders, not off the shoulders
2. It doesn't tilt forward, backward, splayed or bowed, it hangs correctly.
3. There's no bulk of fabric under the arms.
4. She can close it smartly in front without it pulling or being too small.
All of this is due to some fabulous tailoring, but even better, it shows that any figure type can be fitted and styled very beautifully. In this Golden Globe photo, she looks positively professional and beautifully styled. What doesn't show here are her pants, which are also beautifully fit, however I'm not sure how well she could sit in them unless they were stretch. They were fitted to her body but had no ease, which makes me think that they were stretch - I
sure hope so.
So the bottom line through all of this mammoth email, is that any figure can be fit and can be flattered, and can't wait for you all to see more as we style and shape this for this student's final do on the woven core pattern and then..................
.............we build a lot of icing!!!

This is a beginning guide on what to do with your core pattern after you have fitted and worked on it.
All the work that you have done in your core pattern contains all the information to make a garment that you will totally love. This means you really don't have to buy another pattern for making skirts, pants or leggings. Variations on your core pattern makes it possible for you to have the styles you see in a photo or on Pinterest without having to look for the pattern that looks like it might work. You can now simply trace it onto your core pattern and
you're done.
This resource also contains some other important resources at huge discount because they are so important to this creative process of varying your core pattern. It also contains some downloads that aren't available in the Resource Library at all, but are vital toward making good design.
In this world of crazy, illogical fashion, we sewists are having to turn into designers. That sounds really hard and foreboding, but it's not. Unlike designers, we simply haven't had all the experience they have, most of that experience they got when they went to design school. More than anything I wanted to make this process encouraging, empowering and enlightening without having to worry about whether or not you could vary your core pattern.
You can! It isn't that hard. It is knowing some guidelines and charging out into the unknown. That's what we sewists do and we do it very well most of the time.
This is the beginning of the series into variations on core patterns. I wanted to start with something basic, so that you wouldn't feel so intimidated. It takes a while to write these up, cause I'm an idea factory, and coordinating and organizing these ideas can be monumental with the sewing muse yacking in my ear 24/7.
The resource is available now at a discount so that you can enjoy it before spring starts in full force. Right now, I'm thinking happy, colorful and pretty. Those are all fresh looks for future clothes. When things seem upside down, it's great to have something to make us happy and often bright, springtime and summertime fabrics are just as much as drab, dark and somber fabrics. I'm ready to be beautiful, comfortable and look flattering in my clothes and
I'm dying to share that with you.
Skirts, Core Pattern Variations, Part 1 (but there's more than skirts in here)
On the Blog
I wrote this about 10 years ago but since then I've changed IT folks twice, changed hosting services, had my ...
|
This reminds me of the all-too-often-quoted add: Where's the beef? https://youtu.be/Ug75diEyiA0 So the funniest thing about this, is that she ...
|
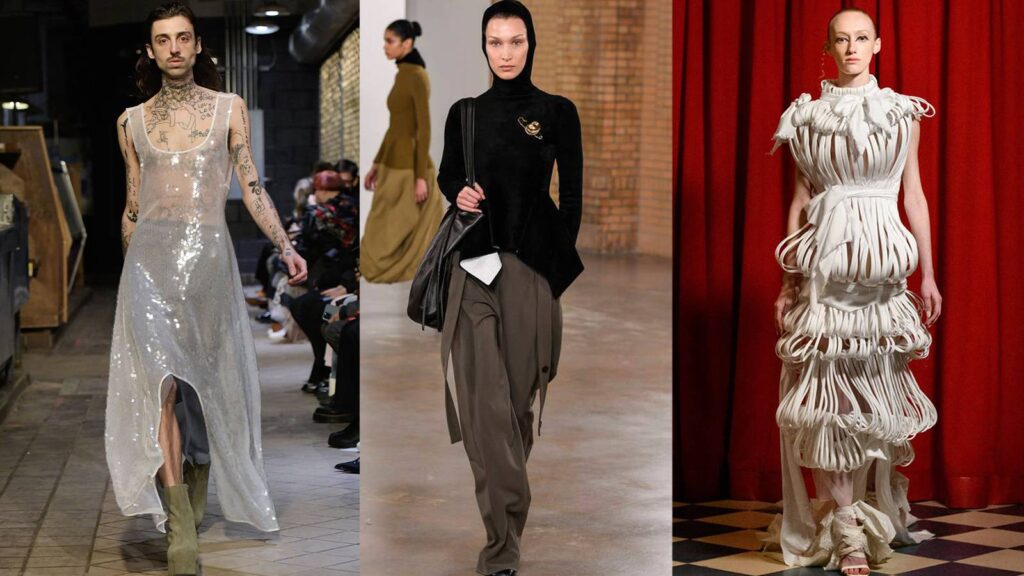
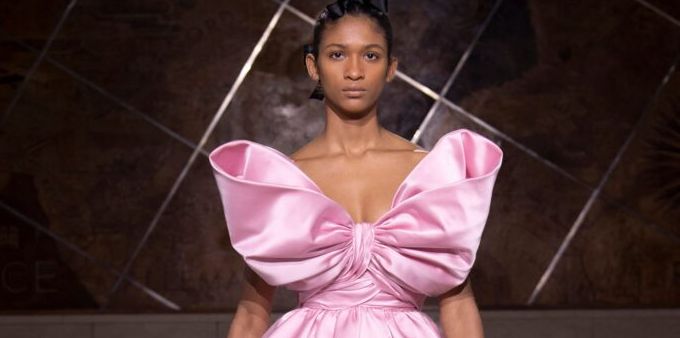
And yet another wonderful Spring/Summer 2022 couture show. For so many decades it's been so discouraging to watch season after ...
|
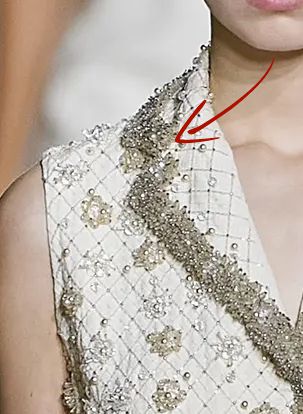
This popped up on my feed for some reason, and the first thing I saw was this: And thought - ...
|

View past emails or in your browser click here.
To talk about a sewing problem, a style quandary or size situation one on one with Claire, click here.
We respect your email privacy.
|
|
|
|